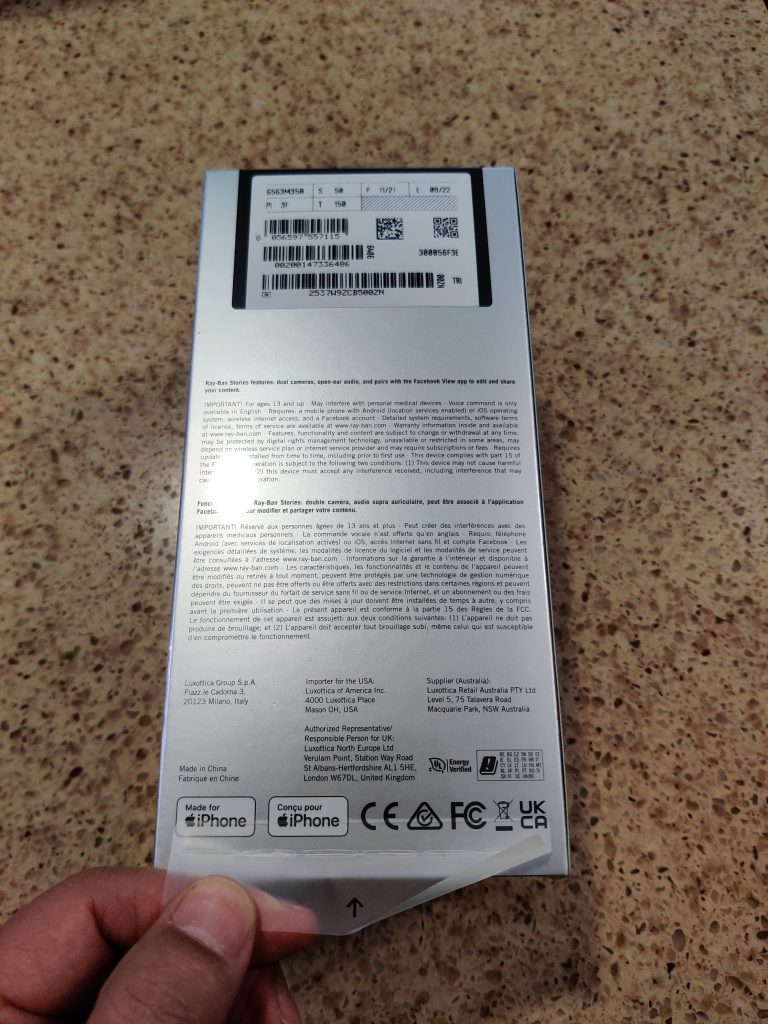
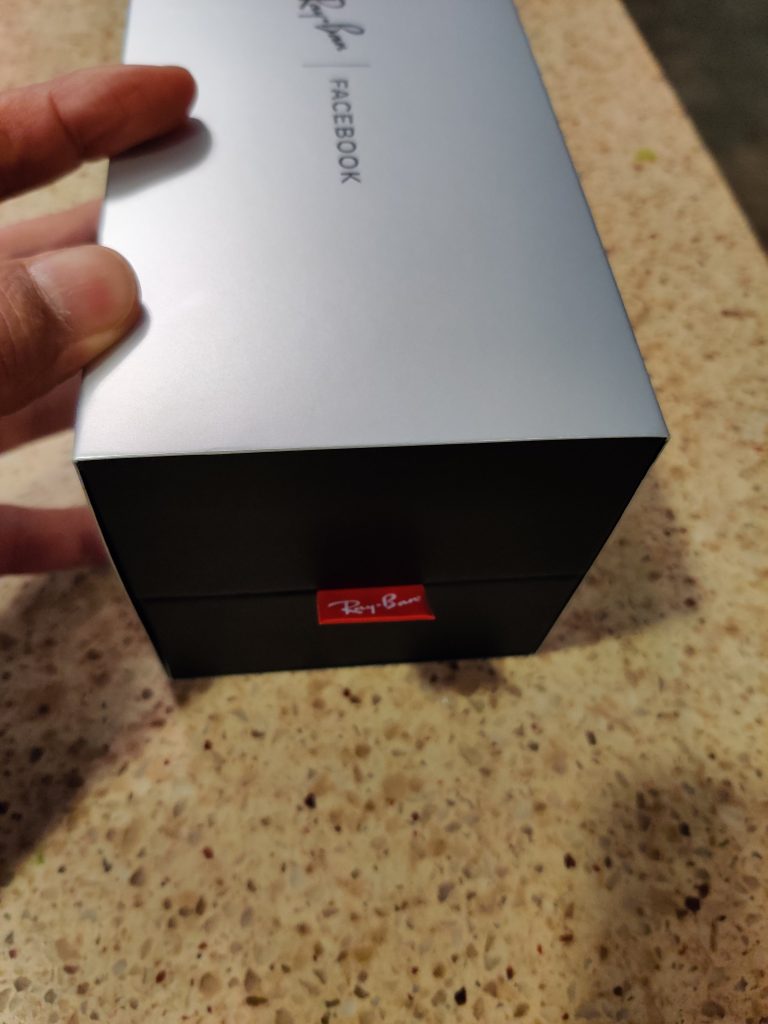
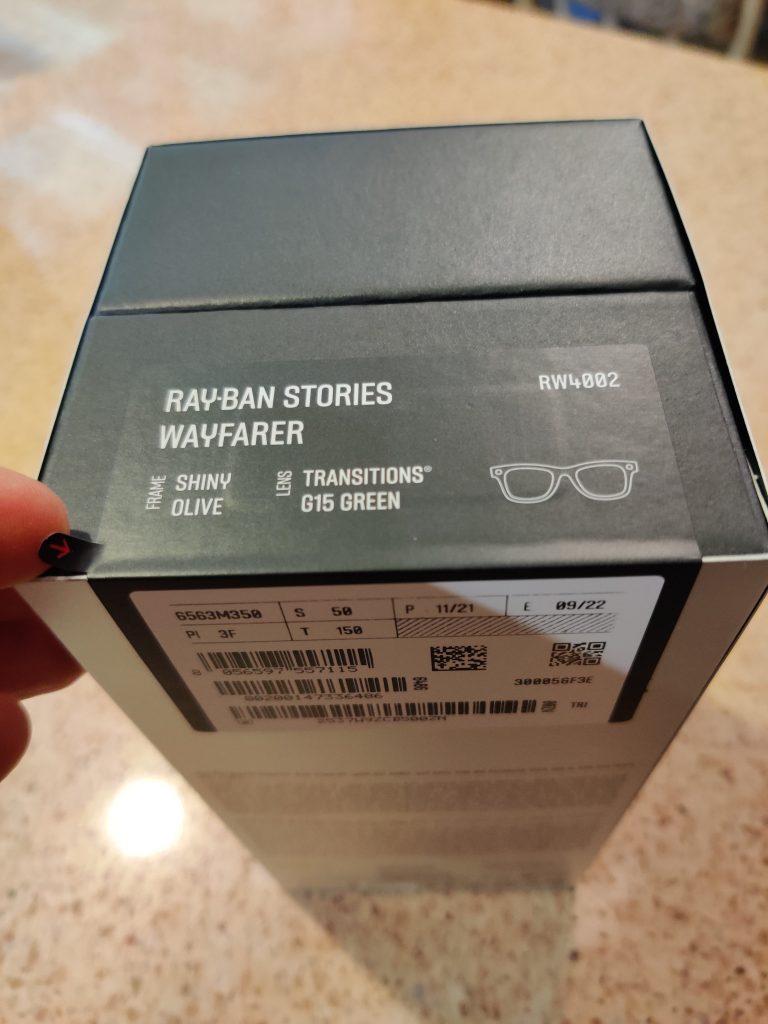
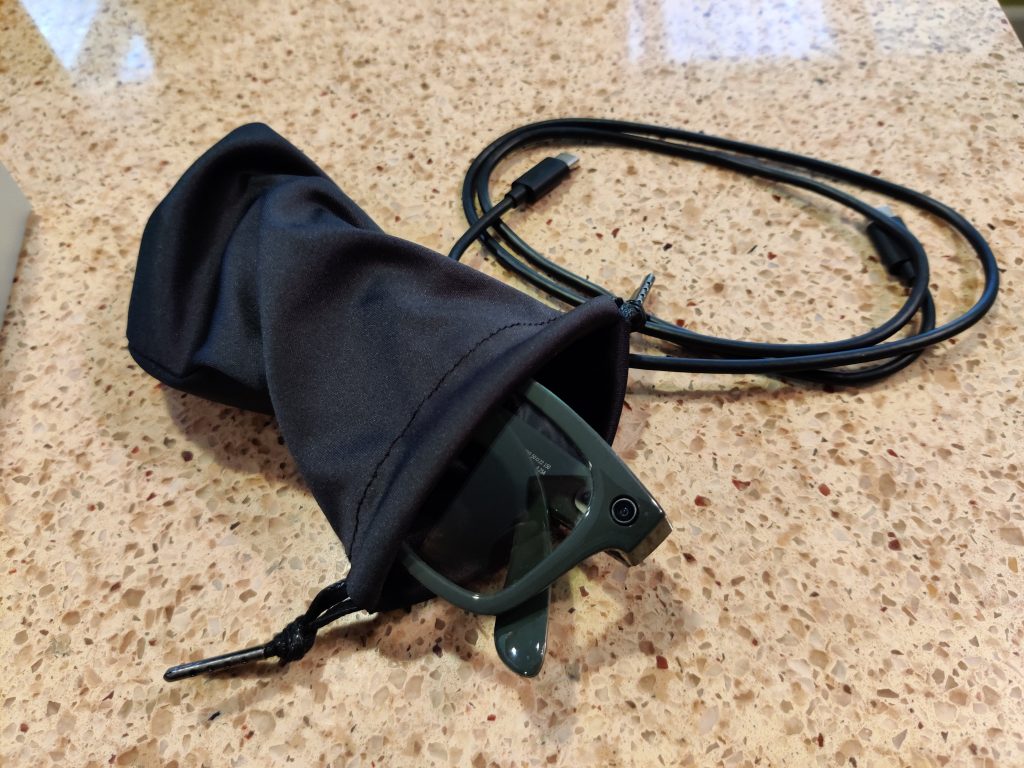
Ray-Ban Stories is a smart sunglass product that is co-developed by Ray-Ban and Facebook (now called Meta). Yesterday I got one pair of them and tried it on for about one hour. This post summarizes my experience of setting it up, wearing it, using it and interacting with the app (“Facebook View”).
Unboxing
I was very impressed by the little details for unboxing. The shipping box can be used for return shipping, with returning address label included. The plastic wrap has a tab for tearing it apart. I have never seen that before! Similarly there is a tab for tearing a sealing label on the box. No more hassle looking for a knife or a pair of scissors!
The packaging felt premium. Not bad for a device sold for $299. Mine is actually $379 due to the transition lens. It came with a USB type-C cable and a charging case. That is pretty much it.
Tuning On
The tutorial guide was very illustrative. The first step is to turn on the device with a switch at the left corner of the glass (see pic below)
The initial BT pairing proved to be a disaster. The glasses refused to enter blinking blue LED mode. Several tries later it entered a blinking white LED mode, where BT pairing obviously cannot succeed. From there on, nothing seemed to work. I had to search online to do a factory reset. Skipping some details here, I believe I actually did a reset. BT pairing eventually worked as expected.
The app then wanted to do a firmware upgrade before anything else, which is kind of expected. However it complained about not enough battery. So I had to charge the glasses for another 20 minutes, a big laydown for an enthusiastic user.
Wearing the glasses is pretty comfortable. It does not feel like a burdensome gadget. The arms do feel a little rigid and thicker than normal. (ADDED on Dec 6th : the glasses tend to slip down. I ordered a nose pad set which hopefully can stop that.)
Using the Glasses
Glasses can be controlled by either voice (“hey, facebook. take a photo”) or pressing a button + tapping the arm. I found they are relatively intuitive.
I will cut it short and go straight to the likes and dislikes. Below is a list of likes:
- App has a good tutorial guide
- App has an easy montage feature to combine several video clips, even with music
- App also has a flashback feature for animating a picture. I probably need a few more practice to master it.
- It has a verbal warning when battery drops to 10%
- Generally good image/video quality, except when taking shots indoors, perhaps due to low light
- Phone can still communicate and control the device while it is being charged. Good.
Here are a few dislikes:
- Is the initial BT pairing failure due to glasses already paired somehow? If so, would need a better cue to lead users. Factory resetting a device which is just out of box seems really harsh for an end user.
- Not enough initial battery to do the initial firmware update. Must wait for 20 minutes before playing with it.
- Why can’t we update the firmware while charging it? that should give sufficient power.
- App has a “Facebook View is active” notification that is always on. What is the purpose? Tapping on it does not even bring up the app.
- Instead, I might need a notification to remind me about the battery level of the glasses and turning it off if necessary.
- ADDED on Dec 6th: After 2 days, I found this notification is REALLY annoying. It is there. It cannot be dismissed. And it is completely useless!
- Using voice to stop the video recording is a little strange. There is no audio prompt after saying “Hey, Facebook”.
- I myself don’t know whether a video recording is on or not. This is not a big problem because you can only record a 30-second clip and typically you will master the recording after a few trials.
- Sometimes there is a audio sound played shortly after stopping a video. I still don’t understand what that is. Maybe telling me processing is done and I can start recording again? That sound does not always come.
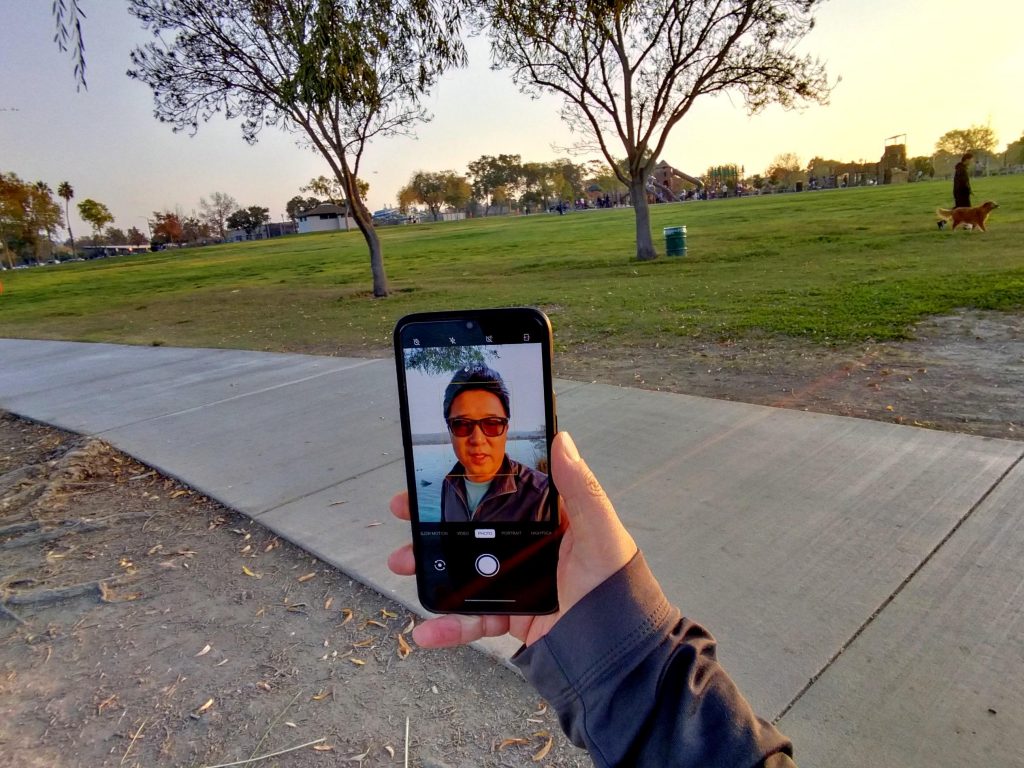
Below are some pictures taken during that session. (Somehow I could not share the video due to WP limitations. *sigh*)
Last Words about Battery
I played with it intensively for about 1 hour and used up all the 34% of battery. During that period, I took 19 video clips (380 seconds total) and 17 pictures. That seems to be consistent with Ray-Ban website claiming about 6 hours of moderate usage and 3 hours continuous usage.

