
Background
The new Raspberry Pi 4 with 8GB RAM is a little attractive beast that is suitable for home server. You can set it up basically fan-less. I was intrigued and I wanted to set it up headless, running Bitcoin full node, ElectrumX server plus Lightning Network (see my next post).
However, while there are many tutorials around Internet, I just can’t find the ideal one that suit me:
- It must be 64bit. Come on! We are in 2021 already.
- That rules out 32bit Raspberry Pi OS.
- The 64bit Raspberry Pi OS (beta) runs fine on the board, but it lacks some basic Linux/UNIX features (e.g., middle mouse button pasting). The desktop settings keep getting lost. It is just frustrating.
- That leaves 64bit Ubuntu, which should be a decent base OS.
- I want to boot from USB without slow SD card.
- I want to run headless with remote graphic UI
The hardware
Below are the components I purchased. The total cost is $270. Not exactly dirty cheap, but that is pretty meaty piece.
- Raspberry Pi 4 with 8GB RAM – $75
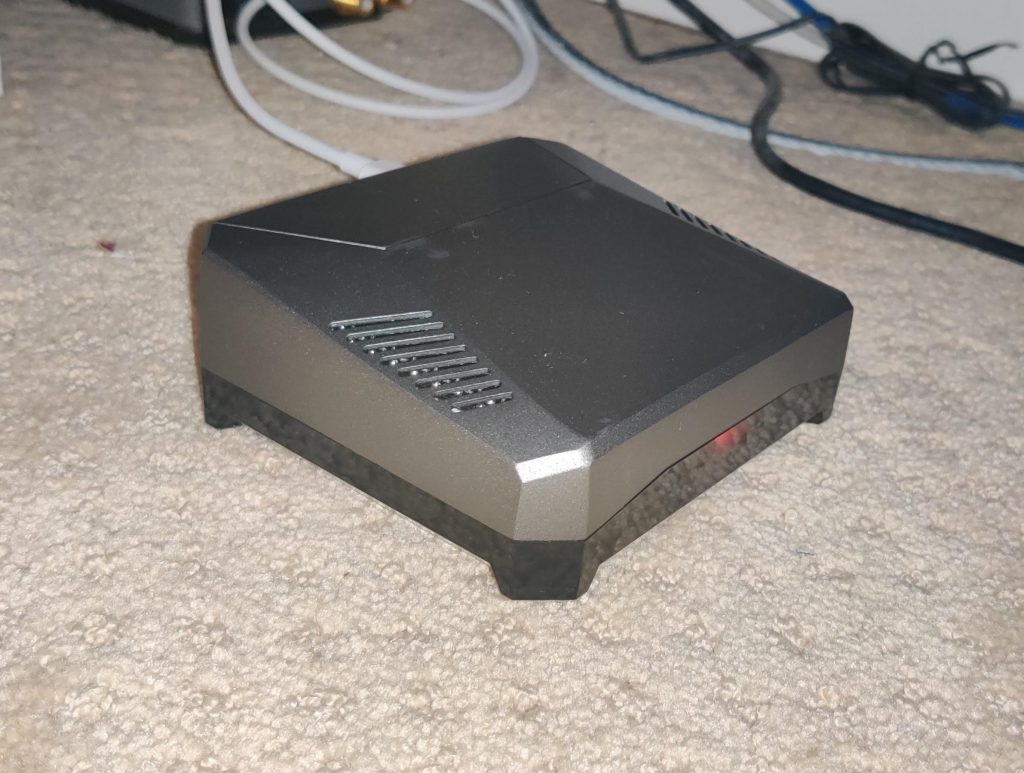
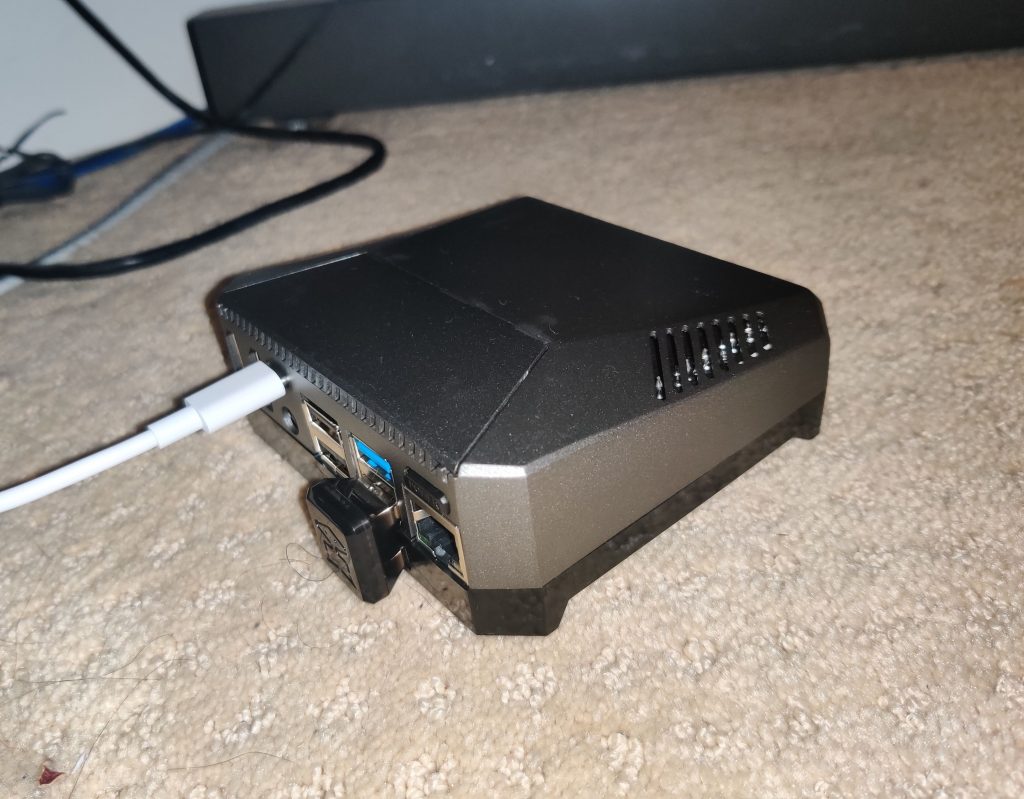
- Argon 1 M.2 Case – $45
- Samsung EVO SSD M.2 1TB – $150
Putting it together is simper than setting up a toaster machine. See a couple of pictures below as well.
Step 1 – Prepare SSD drive and USB boot
- Download and install rpi-imager on your host PC (Linux, Windows, etc)
- Flush raspberry pi OS into SD card (I used 64bit RPIOS beta, but I think 32bit one should work). This will be a throw-away stepping stone.
- Insert the SD card to RPI4 and boot from SD card.
- Insert USB keyboard/mouse into black USB slot (USB2)
- Connect a HDMI cable to a monitor
- Use USB type-C power supply, ideally > 2.4A
- Install (if not already installed) and run rpi-imager on RPI4 booted from SD card.
- (IMPORTANT) Choose “Ubuntu 20.10 64bit Server” OS image and flush onto the 1TB Samsung SSD drive.
- I found Ubuntu 20.04LTS don’t work!
- Follow this link to update EEPROM firmware
- Follow this link to boot from USB (i.e., SSD driver) first instead of SD card.
- Remove SD card, and now you should be able to boot from SSD drive.
Step 2 – Fix up the board
- Connect an Ethernet cable to enable Internet
- Fix sluggish USB mouse
- Add “usbhid.mousepoll=0” to /boot/firmware/cmdline.txt; Reboot
- Install argon 1 fan control
curl https://download.argon40.com/argon1.sh | bash
Step 3 – Install XFCE desktop
Note choose “lightdm” when install xfce4
sudo apt update
sudo apt dist-upgrade
apt install xfce4 xfce4-goodies
apt install tigervnc-standalone-server novnc firefox
Create /etc/lightdm/lightdm.conf file:
[Seat:*]
allow-guest=false
autologin-user=ubuntu
user-session=xfce
#greeter-session=unity-greeter
xserver-command=/etc/X11/xinit/xserverrc
After this you should be able to log into graphic XFCE desktop.
Step 4 – Set up VNC and headless
- Configure wifi assuming that is what you want to run RPI4
- Set up VNC password
sudo vncpasswd /etc/vncpasswd
- Modify /etc/X11/xinit/xserverrc file
#!/bin/sh

ARG=`echo $@ | sed -e "s#vt. -novtswitch##"`
GEOMETRY="1600x1000"
DEPTH="24"
# single client mode; VNC password auth; TLS encryption optional;
exec Xvnc -desktop ubuntu -SecurityTypes "VncAuth,TLSVnc" -NeverShared -DisconnectClients -geometry $GEOMETRY -depth $DEPTH -rfbauth /etc/vncpasswd $ARG- Make sure WiFi is connected before user logs in so that you can connect via VNC
- To do this, launch NetworkManager, select “Applications”/”Settings”/”Advanced Network Configuration”
- Then select the wifi network you are connecting to, and then click on button at the bottom to edit the connection
- Under “General” tab, check “All users may connect to this network”
After this setup, if you reboot RPI4, you will get text console on display.
Meanwhile you should be able to access RPI4 over VNC remotely
- On your PC, install VNC viewer (e.g., tigerVNC viewer)
- Launch the viewer, enter the IP address and port 5900
- Enter the VNC password
- You should see XFCE desktop
Step 5 – Optional noVNC to enable web browser access
- Install noVNC package
- sudo apt install novnc net-tools
- Run /usr/share/novnc/utils/launch.sh
- On PC, open a browser and point at “http://<RPI4 IP address>:6080/vnc_auto.html”
- Enter VNC password and you will be connected to the desktop
You can automate this process by adding this to /etc/rc.local or create a small systemd service file.